Quick Setup
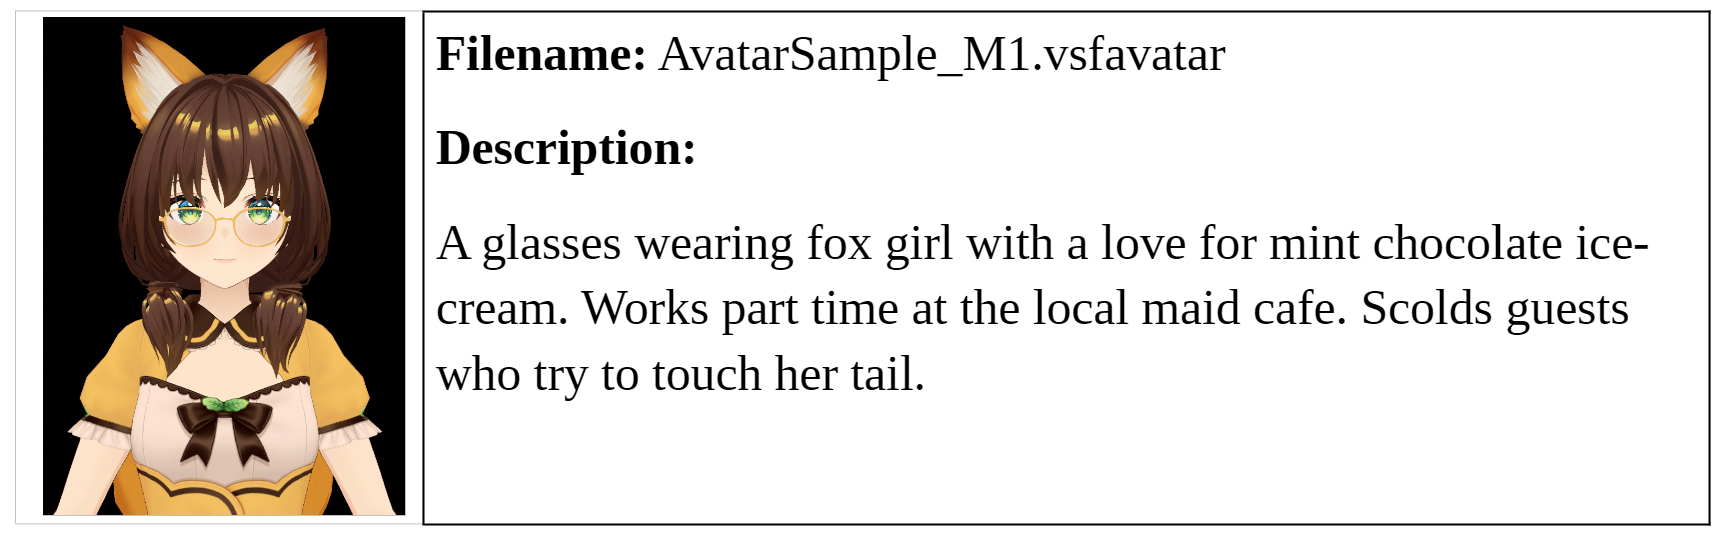
Once installed the quickest way to setup the plugin is to use the included avatar and animator configuration files. By default the plugin is configured for the M1_Avatar model.
Mouse (Quick Setup)
- Using the vNyan “Load Avatar” button, select the M1_Avatar file located in the 3DAvatarFiles folder.
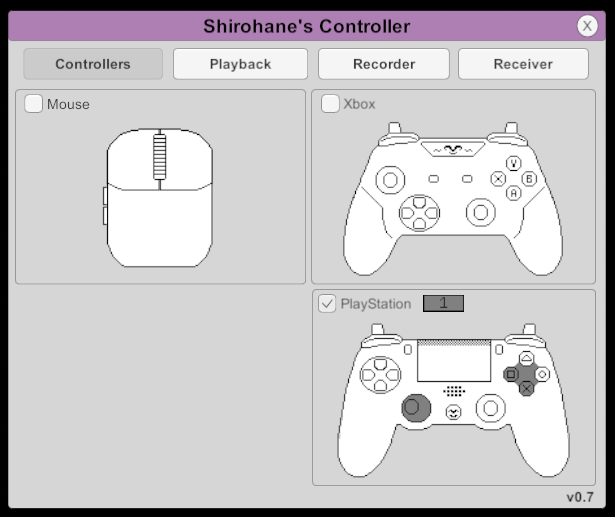
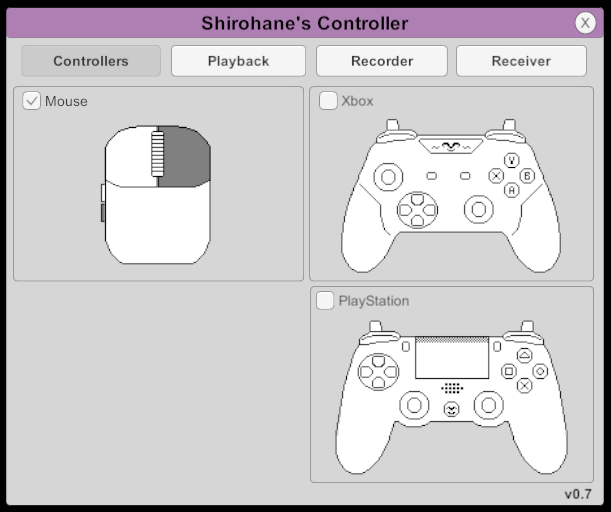
- Open the Plugin menu and click the “Shirohane’s Controller” button. Clicking the “Mouse” button will start converting your mouse inputs into vNyan parameters.
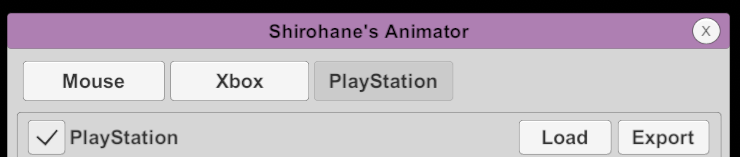
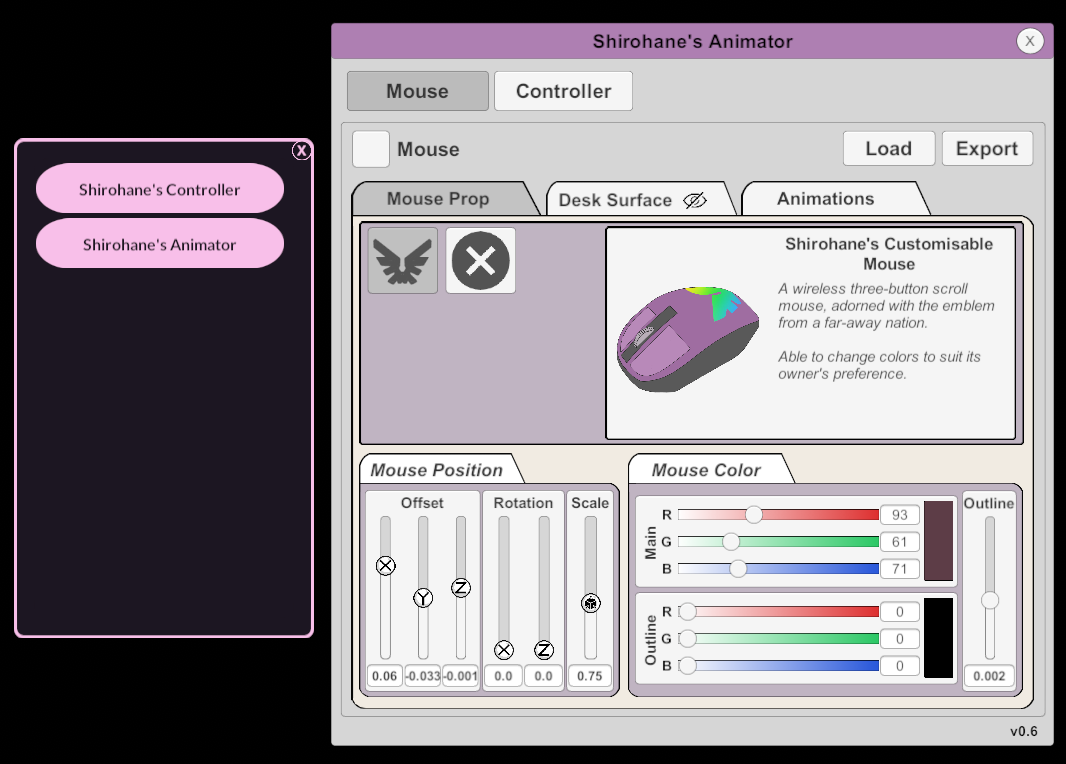
- “Shirohane’s Animator” converts these vNyan parameters into animations. Open the “Shirohane Controller Animator”. A fresh installation will open to the Mouse Animator Layer and load settings configured for the AvatarSample_M1 model.
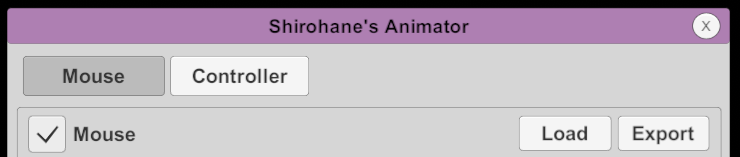
- Click the Mouse toggle to start the mouse animations. The M1 avatar will raise their hand and move with your mouse.
- Mouse animator configuration files for each included avatar can be found in the “Animator Settings” folder. These configurations can be imported using the Load button on the Animator Interface.
Xbox (Quick Setup)
- Using the vNyan “Load Avatar” button, select the M1_Avatar file located in the 3DAvatarFiles folder.
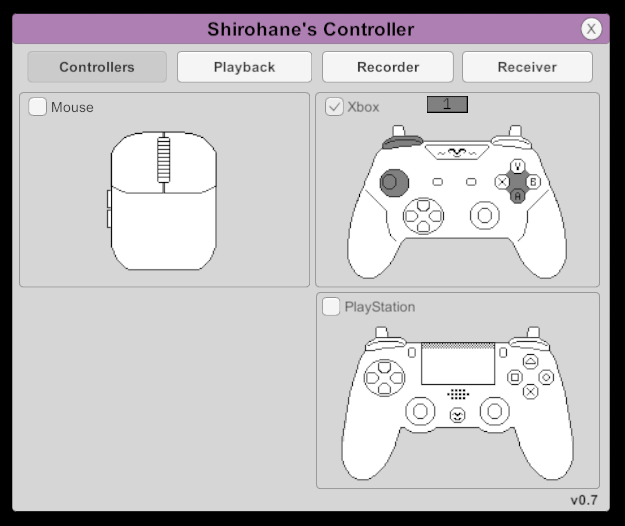
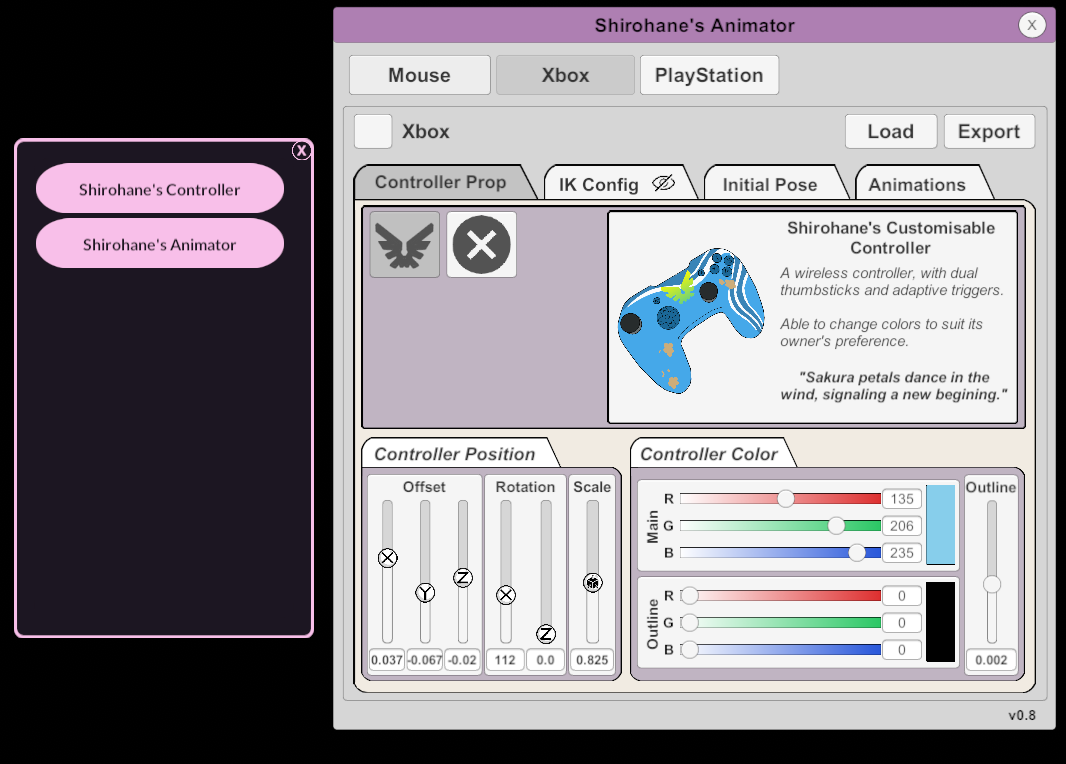
- Open the Plugin menu and click the “Shirohane’s Controller” button. Clicking the “Xbox” button will start converting your xbox controller inputs into vNyan parameters.
- “Shirohane’s Animator” converts these vNyan parameters into animations. Open the “Shirohane Controller Animator” to the Xbox Animator Interface. A fresh installation will load settings configured for the AvatarSample_M1 model.
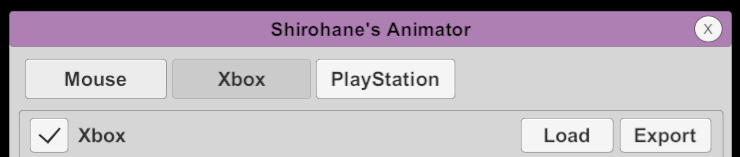
- Clicking the Xbox toggle will start the xbox animation layer allowing the avatar to respond to your connected controller inputs.
- Xbox animator configuration files for each included avatar can be found in the “Animator Settings” folder. These configurations can be imported using the Load button on the Animator Interface.
PlayStation (Quick Setup)
- Using the vNyan “Load Avatar” button, select the M1_Avatar file located in the 3DAvatarFiles folder.
- Open the Plugin menu and click the “Shirohane’s Controller” button. >Clicking the “PlayStation” button will start converting your PS4 or PS5 controller inputs into vNyan parameters.
- “Shirohane’s Animator” converts these vNyan parameters into animations. Open the “Shirohane Controller Animator” to the PlayStation Animator Interface. A fresh installation will load settings configured for the AvatarSample_M1 model.
- Clicking the PlayStation toggle will start the PlayStation animation layer allowing the avatar to respond to your connected controller inputs.
- PlayStation animator configuration files for each included avatar can be found in the “Animator Settings” folder. These configurations can be imported using the Load button on the Animator Interface.